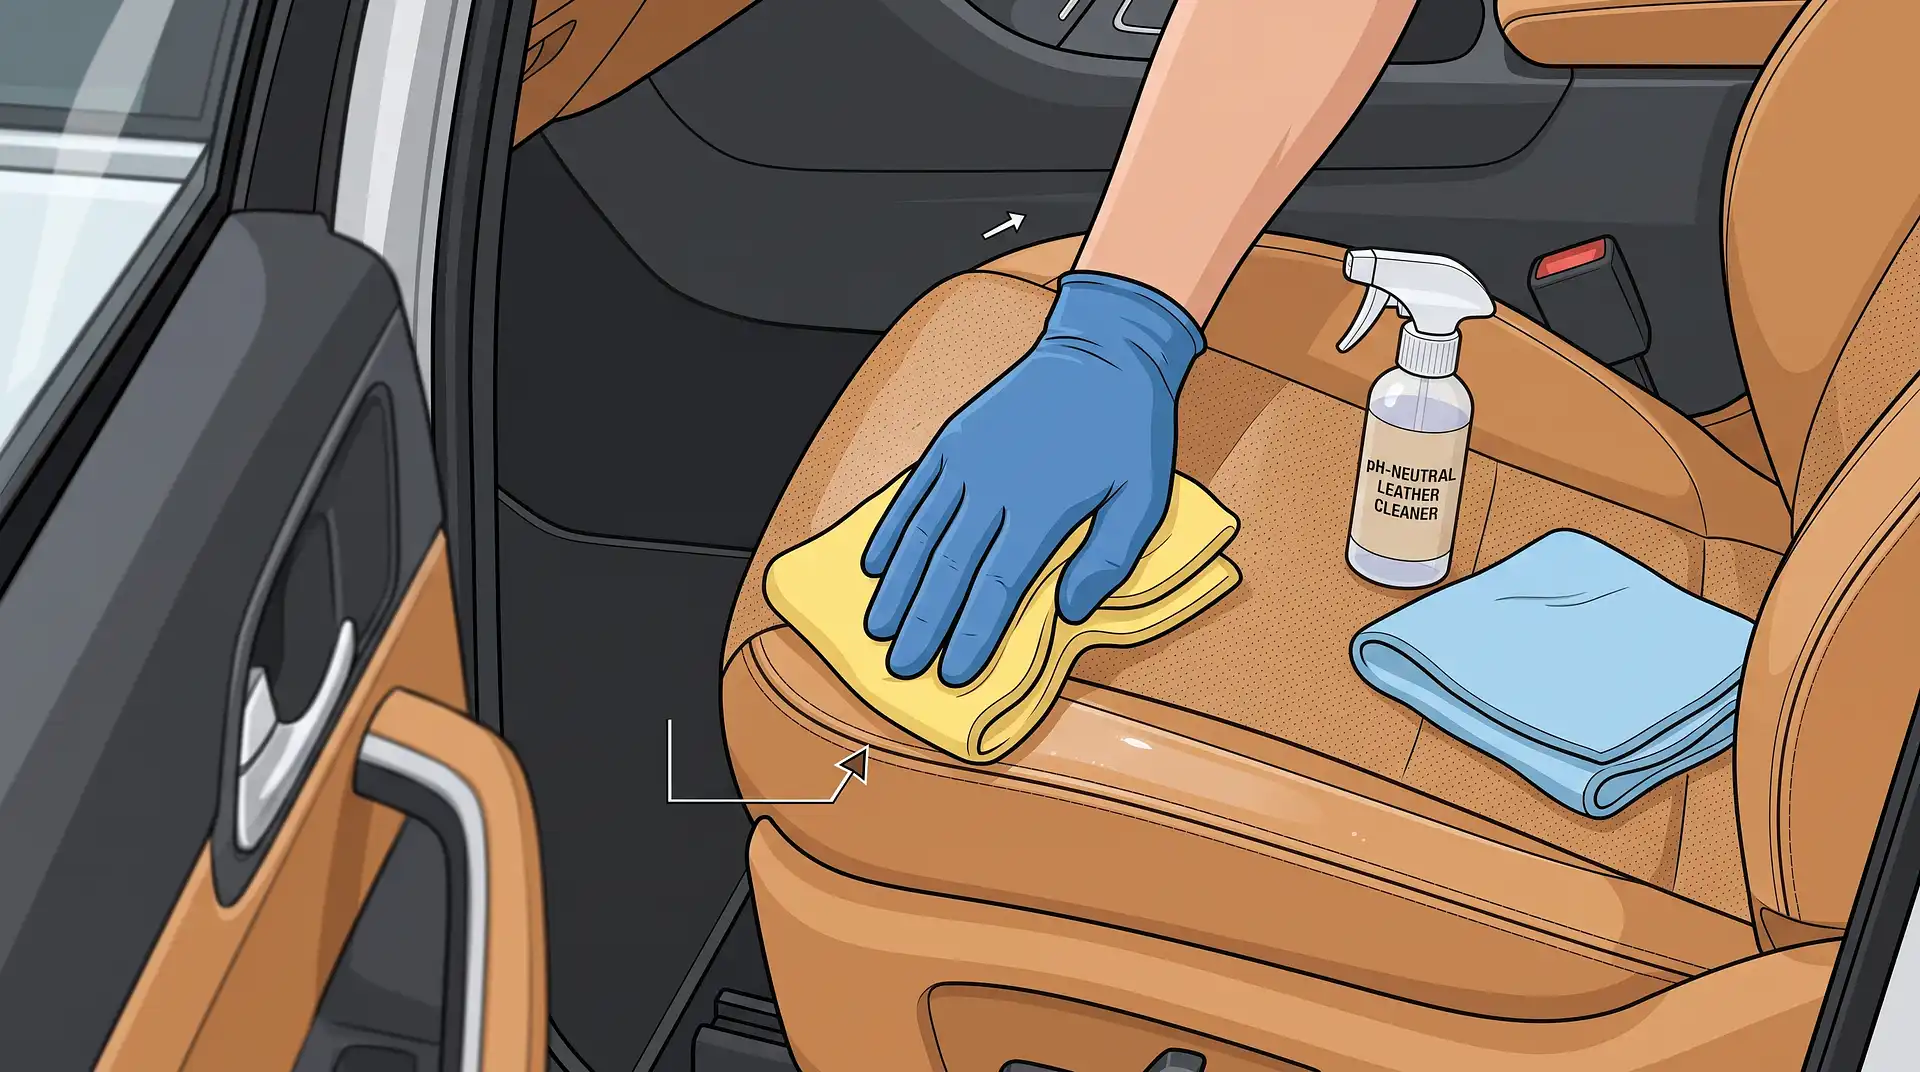
How to Clean Leather Car Seats
16 August 2026
Quick answer: Identify the material first, since genuine leather, part-leather and leatherette behave differently and need different products. Vacuum with a soft brush attachment, including perforations and seams. Wipe with a barely damp microfibre cloth and a pH-neutral leather cleaner, never household all-purpose cleaner, baby wipes or anything with alcohol. Dry immediately with a separate cloth. Condition every two to three months, more often if the car sits in direct sunlight or the interior gets very hot. Leatherette and vinyl are more moisture-tolerant but don't need or benefit from leather conditioner, which can damage a synthetic surface.
Leather car seats take more punishment than almost any leather in a house. Repeated heat spikes in summer, cold snaps in winter, UV exposure through glass, sweat, sun cream, dark jeans and the occasional takeaway. A sofa in a living room doesn't face any of that in combination, which is why car leather ages the way it does and why the same care principles from our leather sofa guide apply here with a few important additions.
Real leather, part-leather or leatherette: which do you have?
This is worth knowing precisely, and in UK cars it's less obvious than it sounds.
Genuine full leather is expensive and increasingly uncommon even in premium trims. The entire seat surface, face, sides, back and headrest, is hide throughout.
Part-leather (split leather) is what most UK mid-range car "leather" packages actually are. The main seat face and bolsters, the surfaces you sit against, are genuine leather. The side panels, seat backs and headrests are usually a synthetic material. You'll often see a slight texture difference between the two areas, and they can respond differently to conditioning products, since a conditioner designed for hide can damage the synthetic sections.
Leatherette, PU or vinyl is a fully synthetic leather-look material. Common in entry-level leather option trims. More moisture-tolerant than genuine leather, but leather conditioner designed for hide can cloud or damage a synthetic surface.
How to tell. Check the manufacturer's specification for your exact trim level rather than the general description of the seat package. The distinction between "leather" and "leather-effect" or "leatherette" is usually in the small print of the spec sheet rather than the brochure headline.
If you genuinely can't find it: look closely at the back of the seat or the underside of a headrest. Real leather typically shows a backing material and natural grain variation on the hide surface, whereas synthetic materials have a uniform, repeating pattern and often a fabric or foam backing. Real leather also has a faint distinctive smell that synthetics replicate with varying success.
Pigmented, aniline or semi-aniline? Most mainstream car leather is pigmented, which means it has a protective coating and is the most durable and moisture-resistant finish. Aniline and semi-aniline are rare in production cars outside high-end trims, significantly more delicate, and porous enough that a water drop will soak in rather than bead. If you have aniline leather in a car, you likely know about it from the purchase. If not, treat it as pigmented.
Why car leather deteriorates faster than furniture leather
Understanding this makes conditioning feel less like a chore and more like the obvious thing to do.
UV exposure. Car glass transmits UV radiation, and parked UK cars on summer days reach interior temperatures well above what any living room achieves. UV breaks down the dyes and surface treatment in leather and dries it out over time, which is why fading and cracking tends to start on the seat bolsters and headrests nearest the glass.
Thermal cycling. Going from cold overnight to warm on a heated seat, then back to cold, repeatedly over years, causes leather to expand and contract. Over time this weakens the surface, particularly in areas under the most mechanical stress like the seat crease.
Sweat and body oils. Deposited directly onto the leather surface rather than through a fabric layer as with a sofa. Accumulates on bolsters, armrests and the steering wheel faster than on furniture.
Aftermarket products. Sun cream, insect repellent, hand sanitiser and cleaning products people use without checking compatibility all contribute. Alcohol in hand sanitiser is one of the more reliably damaging things that goes onto car leather, since most people apply it before touching the steering wheel and gear lever without thinking about it.
Before you start: what damages leather in a car
Never use: household all-purpose cleaner, baby wipes, anything with alcohol, bleach, ammonia-based products, undiluted washing up liquid. All strip natural oils and cause the drying and cracking that people then buy conditioner to try to fix, often too late.
Avoid vinegar. Same call as in our leather sofa guide: it's acidic and strips oils over repeated use. A proper pH-neutral leather cleaner does the job without that risk.
Never soak. A barely damp cloth is correct. Excess moisture on leather leaves watermarks on aniline and semi-aniline finishes and on the synthetic sections of part-leather seats.
Never use a hairdryer or park in direct sun to speed drying. Direct heat dehydrates leather rapidly.
Test in a hidden area first. Underside of a seat base or the back of a headrest. Apply, let it dry fully, check for colour change, haziness or texture change.
Routine cleaning, step by step
Do this every four to six weeks, or whenever the seats look dull or feel tacky.
Step 1: Vacuum
Soft brush attachment, over the whole seat including perforations, seams and the join between seat base and backrest. Remove crumbs and grit before they get ground in or trapped in the perforations.
Step 2: Wipe with a barely damp cloth
A microfibre cloth, dampened with water only and wrung out until close to dry, removes surface dust and light soiling. Work from top to bottom.
Step 3: Apply leather cleaner
Dampen a fresh microfibre with your pH-neutral leather cleaner and work in small circles, one panel at a time. Apply to the cloth, not the seat. Keep the amount of moisture minimal.
On a part-leather seat, use the same product on both sections cautiously and check the result on the synthetic section of a hidden area first, since some leather-specific products cloud synthetic surfaces.
Step 4: Dry immediately
A separate dry microfibre over the whole seat, straight away. Don't let it air dry on its own, since moisture sitting on the surface is what causes watermarks.
Step 5: Condition
Once dry, a thin, even layer of leather conditioner buffed in gently. Full detail on conditioning is below.
Perforated seats: what changes
Common on sports and heated seat trims, and they need a specific approach.
Perforations go straight through to the foam padding, which means liquid pushed into them reaches the foam almost immediately. Foam that gets wet in a sealed car seat dries badly and can cause the musty smell covered in our fabric car seats guide, even though the outer material is leather.
Never spray directly onto perforated leather. Apply to the cloth only, barely damp, and work gently across the surface so the solution sits on and in the leather rather than being pushed through the holes.
Blot rather than agitate. Pressing down with a damp cloth pushes liquid into the perforations. Work with a lifting motion rather than a scrubbing one.
Dry harder afterwards. Use a dry cloth with a lifting motion across the perforations, and run the car's fan on cool with it pointed at the seats if you can, to help any moisture that did get through to evaporate.
Conditioning, and how often in a UK car
More important here than for furniture, and for the reasons above: UV, heat cycling and sweat all strip natural oils faster than a sofa in a sitting room.
Every two to three months is a reasonable baseline. More often if the car regularly sits in direct sun, if you live somewhere the car gets very hot in summer, or if the seats have started to look dull or feel slightly stiff.
How to condition: apply a small amount to a microfibre, not to the seat directly, and work in circular motions across the whole seat, one panel at a time. Buff off any excess with a clean dry cloth. More product is not more protection. A thin, even layer works in; an excess sits on the surface, feels greasy and attracts dust.
On part-leather seats: condition only the genuine leather sections unless the conditioning product specifically states it is safe on synthetic materials too.
Leatherette and vinyl: do not condition with a leather conditioner. It either has no effect or damages the synthetic surface. A separate vinyl or synthetic leather conditioner is appropriate if you want to treat these sections.
Stains by type
General spills. Blot immediately with a dry cloth. Follow with the routine clean method. Speed matters more than anything else for leather, since fresh spills sit on the surface rather than immediately soaking in on pigmented leather.
Grease and food oil. Blot, then a light application of leather cleaner. Bicarbonate of soda, useful on fabric, is less appropriate here since it can dry the leather and leave a residue in the grain.
Ink. Hardest stain on leather, as covered in the leather sofa guide. A specialist leather ink remover gives the best chance. Rubbing alcohol can work but is aggressive on the finish, particularly on aniline and semi-aniline, and risks taking colour with the ink.
Denim dye transfer. Very common on light-coloured leather seats from dark jeans. A leather-specific dye remover or a specialist cleaner, tested on a hidden area first. Persistent marks often need professional treatment.
Pale haze after cleaning. Usually dried product residue, either from a cleaner or a conditioner. Buff with a clean dry microfibre. If it persists, a very lightly damp cloth and a second dry buff usually clears it.
Colour coming off on the cloth. Genuine dye loss rather than surface residue. Usually means the protective finish has degraded. Conditioning helps slow further loss, but once the pigment layer is gone it cannot be restored without professional colour correction.
Leatherette and vinyl: what's different
Leatherette and vinyl tolerate more moisture than genuine leather and don't need leather-specific conditioner, which can cloud or damage synthetic surfaces.
A mild detergent solution on a damp cloth handles general cleaning well. Dry immediately in the same way. For UV protection and to prevent the synthetic surface cracking and peeling, a vinyl or synthetic leather protectant product is appropriate.
Avoid alcohol-based products on leatherette too, since they degrade the surface finish over time, particularly on cheaper synthetic materials.
8. FAQ Section
How do you clean leather car seats at home? Vacuum with a soft brush attachment, wipe with a barely damp microfibre and a pH-neutral leather cleaner applied to the cloth rather than the seat, dry immediately with a separate dry cloth, then condition. Avoid household all-purpose cleaners, baby wipes and anything containing alcohol.
How do I know if my car seats are real leather or vinyl? Check the manufacturer's specification for your trim level. Genuine leather shows natural grain variation and has a distinct smell, where vinyl and leatherette have a uniform, repeating texture. Many UK mid-range leather packages are actually part-leather, with real hide on the seat faces and synthetic on the side panels and backs.
Is vinegar safe on leather car seats? Not recommended. It's acidic and strips natural oils from leather over repeated use, contributing to the drying and cracking it's supposed to prevent. A pH-neutral leather cleaner is a better choice for the same task.
How often should I condition leather car seats? Every two to three months as a baseline, more often if the car regularly sits in direct sun or gets very hot inside. Car leather dries out faster than furniture leather because of UV exposure and temperature cycling.
How do you clean perforated leather seats? Apply cleaner to the cloth, never spray directly onto perforated leather, since the holes go straight to the foam underneath. Work gently with a lifting motion rather than pressing down, and dry thoroughly afterwards to prevent moisture sitting in the foam.
How do you stop leather car seats cracking? Regular conditioning every two to three months, avoiding products that strip natural oils such as alcohol and all-purpose cleaners, keeping the car shaded where possible, and using a sunshield on hot days. Conditioning replaces what UV and heat cycling remove and keeps the leather supple.
Can I use the same cleaner on part-leather seats? Test on the synthetic section of a hidden area first, since leather-specific products can cloud or damage synthetic materials. Some conditioning products specifically state they're safe on both, which are worth using on part-leather seats.
How do you get denim dye off leather car seats? A leather-specific dye remover or a specialist cleaner, tested in a hidden area first. Persistent marks often need professional treatment. Denim dye transfer onto light leather is one of the harder stains to remove completely at home.
How do you clean leatherette car seats? A mild detergent solution on a damp cloth, applied and dried immediately. Leatherette tolerates more moisture than genuine leather but still benefits from not being soaked. Don't use leather conditioner on a synthetic surface. A vinyl or synthetic leather protectant is appropriate for UV protection.
Is it worth getting leather car seats professionally cleaned? Worth considering for significant staining, visible dye loss or cracking, denim dye transfer that hasn't responded to home treatment, or aniline and semi-aniline leather where DIY risk is higher. A professional can also apply colour correction and protective coatings that home products can't replicate.
Get your fixed quote in 60 seconds
Or call 07555 856988.