How to Repair a Leather Sofa
23 September 2026
Would rather leave it to a professional? See our professional leather sofa cleaning.
Quick Answer
Identify the type of damage first, since light scratches, small cuts, larger tears, and cracking each need a different repair approach. Light surface scratches often respond to cleaning the area and working in a leather conditioner with your fingers in a circular motion. Small cuts or scratches with a rough edge generally need a leather repair kit, filling the damage, sanding lightly, and applying colour matched dye. Larger holes or tears need a fabric sub-patch glued behind the leather before filling, colouring, and sealing. Cracking or peeling from dryness needs a moisturising treatment and filler on any scaly areas, followed by a sealant. Before starting any of this, check whether your sofa is genuine leather or a bonded or faux alternative, since this changes both the method and the result you can realistically expect.
Check What Your Sofa Is Actually Made Of First
This is the step most repair guides skip, and it genuinely changes the outcome. Genuine leather, whether aniline or pigmented, responds well to standard leather repair kits, filler, and colourant. Bonded leather, a common choice on budget sofas, is made from leftover leather fibres bonded together with a polyurethane coating rather than a single piece of hide, and it tends to peel and flake at the surface rather than crack or tear the way genuine leather does. Once bonded leather starts peeling extensively, a standard repair kit generally will not hold up the same way, since there is no genuine leather surface underneath to bond to properly, and the more realistic long term fix is often reupholstering the affected panel rather than continuing to patch a coating that is failing at a material level.
If your sofa is genuine leather, it is also worth knowing whether it is aniline or pigmented, since this affects how well a repair blends in rather than whether it is possible at all. Aniline leather has no protective colour coating on the surface, which gives it a natural, soft appearance but means any repair colourant sits directly against the natural leather with nothing to help disguise a slight mismatch. Pigmented leather has a protective colour coat over the surface, which is more forgiving, since the coating itself does much of the work in giving an even, consistent finish, making a careful repair considerably easier to blend in invisibly.
What You Will Need
A leather repair kit, containing filler, colourant, and tints for colour matching
A soft cloth and mild leather cleaner
Fine grit sandpaper
A leather conditioner
Scissors or a scalpel for trimming damaged edges
A sub-patch material, such as fabric or a thin mesh, for larger tears
A hairdryer, useful for setting thin coats of colourant
A leather sealant or finishing coat
Step by Step: Fixing Light Surface Scratches
Clean the area first. Wipe the scratched area with a soft, damp cloth and a small amount of mild leather cleaner to remove dust and dirt.
Apply a little leather conditioner. Work it gently into the scratch using your finger in a small circular motion, which often helps the mark blend back into the surrounding leather on its own.
Repeat if needed. A stubborn light scratch may need a couple of applications over a few days rather than disappearing after the first attempt.
Step by Step: Repairing Small Cuts and Deeper Scratches
Clean and dry the area thoroughly. Any dirt trapped in the damage will affect how well the filler and adhesive bond.
Trim any loose or frayed edges. Use sharp scissors or a scalpel to create a cleaner, smoother edge for the repair to hold to.
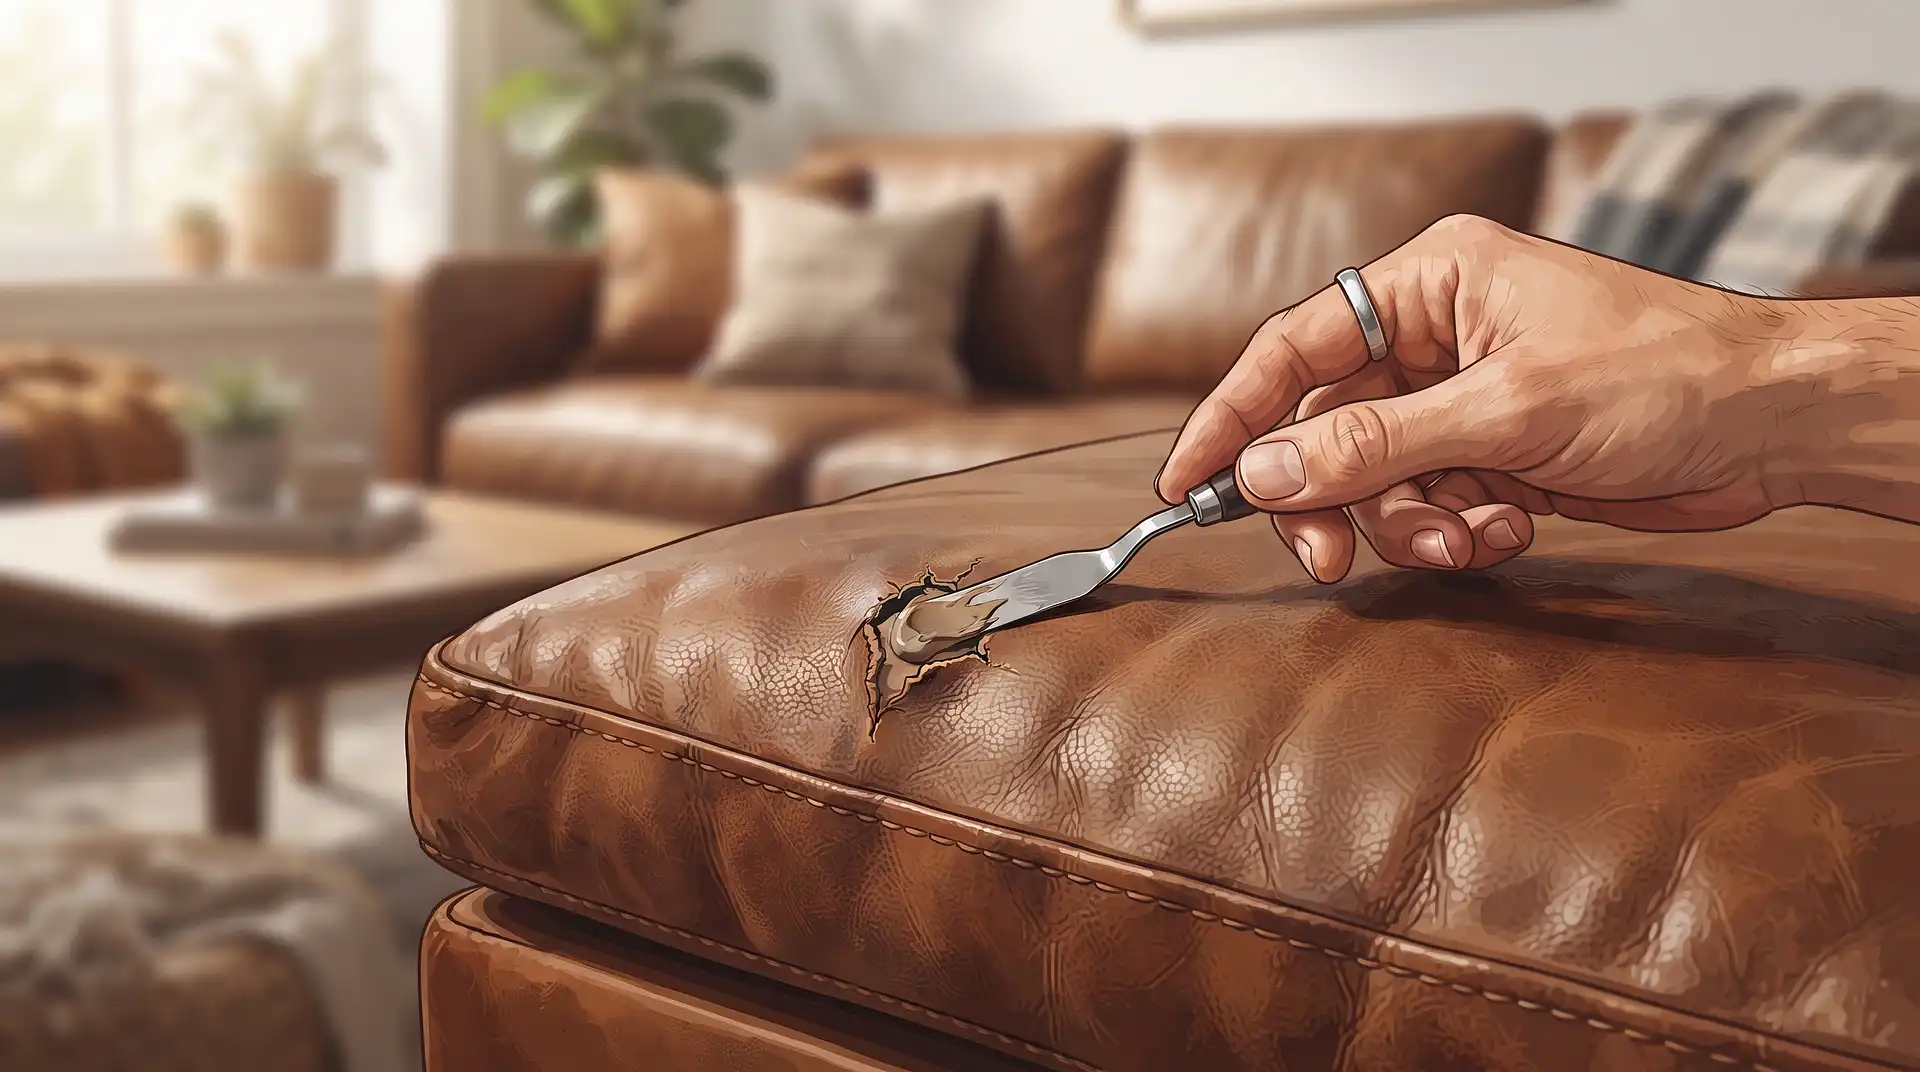
Apply leather filler. Use a spatula or palette knife to spread the filler evenly, filling the damage completely and smoothing it level with the surrounding surface.
Allow it to dry fully. This typically takes 60 minutes, though this varies by product.
Sand lightly if needed. A very light pass with fine grit sandpaper helps smooth the repair so it blends into the surrounding texture rather than sitting proud of the surface.
Colour match and apply dye. Test the colourant on a hidden area first, building up thin coats rather than one heavy application, and dry each coat with a hairdryer before adding the next.
Seal the repair. Finish with a leather sealant to protect the repair and give it the same scuff and scratch resistance as the surrounding leather.
Step by Step: Repairing Larger Tears or Holes
Clean the surrounding area. Use a mild leather cleaner or a homemade mix of warm water and white vinegar, avoiding saturating the leather.
Trim the damaged edges. Cut away any loose or frayed leather around the tear for a cleaner repair.
Insert a sub-patch behind the tear. Slide a small piece of fabric or mesh behind the leather so it sits flat, using tweezers if needed to position it accurately.
Apply leather glue between the patch and the leather. This bonds the sub-patch in place, giving the filler something solid to sit against.
Fill the tear. Apply leather filler over the top, building it up in thin layers rather than one thick application, and allow each layer to dry before adding more.
Sand, colour match, and seal. Follow the same finishing steps as a smaller repair, working in thin coats of colourant and finishing with a sealant.
Step by Step: Treating Cracking or Peeling Leather
Clean the area with alcohol or a leather specific cleaner. This removes any residue and prepares the surface for treatment.
Apply a moisturising cream. Work it into any dry, scaly areas and allow it to fully absorb before continuing.
Fill any scaly or chafed patches. Use an air dry leather filler on areas where the surface has genuinely broken down, working in thin, level coats.
Colour match if needed. Cracked areas often show as a different tone once filled, so colour matching may be needed to blend the repair in.
Seal the finish. A sealant locks in the colour and helps prevent the same area cracking again in the near future.
Why Cracking and Peeling Often Comes Back
Cracking and peeling on genuine leather is usually caused by the leather drying out over time, often from prolonged sun exposure or a lack of regular conditioning, rather than being a one-off event. Repairing the visible damage without addressing the underlying cause tends to mean the same problem reappears nearby within a year or two. Building a regular conditioning routine, alongside the general care covered in the guide on cleaning a leather sofa and the polishing approach in how to polish a leather sofa, genuinely reduces how often this kind of repair becomes necessary in the first place.
When Repair Is Not the Right Answer
A repair kit works well for isolated scratches, small tears, or a limited patch of cracking. It is generally not worth attempting when bonded leather has started peeling extensively across a large area, since the underlying coating has failed at a material level rather than needing a surface patch, or when cracking has spread across multiple panels rather than staying localised. In these cases, reupholstering the affected sections is usually the more realistic long term option. The guide on reupholstering a sofa covers the process if a repair kit is no longer the right tool for the extent of the damage.
Dirty leather before a repair?
Frequently Asked Questions
Can a scratch on a leather sofa be fixed without a repair kit?
Light surface scratches often respond to simply cleaning the area and working in a leather conditioner with your finger. Deeper scratches with a rough or torn edge generally need a proper repair kit with filler and colour matched dye.
Does bonded leather repair the same way as genuine leather?
Not reliably. Bonded leather tends to peel and flake at the surface rather than crack, and once this happens extensively, a standard genuine leather repair kit often does not hold up the same way, since there is no consistent leather surface underneath to bond to.
Is it harder to repair aniline leather than pigmented leather?
Yes, aniline leather has no protective colour coating, so a repair colourant sits directly against the natural leather with less to help disguise a slight mismatch. Pigmented leather's protective coat generally makes a careful repair blend in more convincingly.
Why does my leather sofa keep cracking in the same area?
This is usually a sign of ongoing dryness from sun exposure or a lack of regular conditioning rather than a one-off issue. Repairing the visible crack without addressing the underlying dryness often means the same problem returns nearby.
How long does it take to repair a tear in a leather sofa?
A typical repair, including cleaning, gluing, filling, and letting it dry, takes around 60 minutes, with additional time needed if colour matching or multiple thin coats of dye are required.
When should I stop trying to repair leather myself and get help instead?
When bonded leather has peeled extensively across a large area, or when cracking has spread across multiple panels rather than staying in one spot, reupholstering the affected sections is usually a more realistic option than continuing to patch the surface.
How do you repair scratches on a leather sofa?
Light scratches on protected leather often fade with a little leather conditioner rubbed in with a soft cloth. Deeper scratches need a leather filler and colour balm matched to the sofa. Test on a hidden area first.
Can cracked leather be repaired?
Surface cracks can be filled and recoloured with a leather repair kit, but the leather will stay weaker in that area. Regular cleaning and conditioning every 6 to 12 months stops most cracking.
What is the best leather sofa treatment?
Clean with a pH-neutral leather cleaner, then apply a conditioner or protection cream. Keep the sofa away from radiators and strong sun, which dry out leather faster.
Service Section and CTA
If cracking or peeling has spread further than a simple repair kit can manage, Instant Dry Carpet Cleaning offers professional leather sofa cleaning and conditioning across England and Wales, helping prevent further damage while you decide on next steps.
Get a free quote: instantdrycarpetcleaning.co.uk Call or WhatsApp: 07555 856988
Related guides: how to disinfect a leather sofa. For a professional finish, see our leather sofa cleaning service or carpet cleaning in Manchester.
Related guides
Need it cleaned properly?
Book our leather cleaning service — from £49 (UK average £75), free in-home survey and pay on completion.